Papalook PA452 USB 1080p HD Live Web Camera review
REVIEW – We’re all spending a lot more time in video conferences lately. Are you happy with how you appear in your conferences? Do you know the resolution of the camera in your laptop? Different manufacturers call out the specs in different ways so you might not have a real answer. If you need to up your game, Papalook’s PA452 USB 1080p HD Live Web Camera might be worth checking out. Here’s how it’s worked for me.
What is it?
The PA452 USB 1080p HD Live Web Camera from Papalook is exactly what it sounds like. A USB webcam that will provide 1080p video for all your conferencing needs.
What’s in the box?
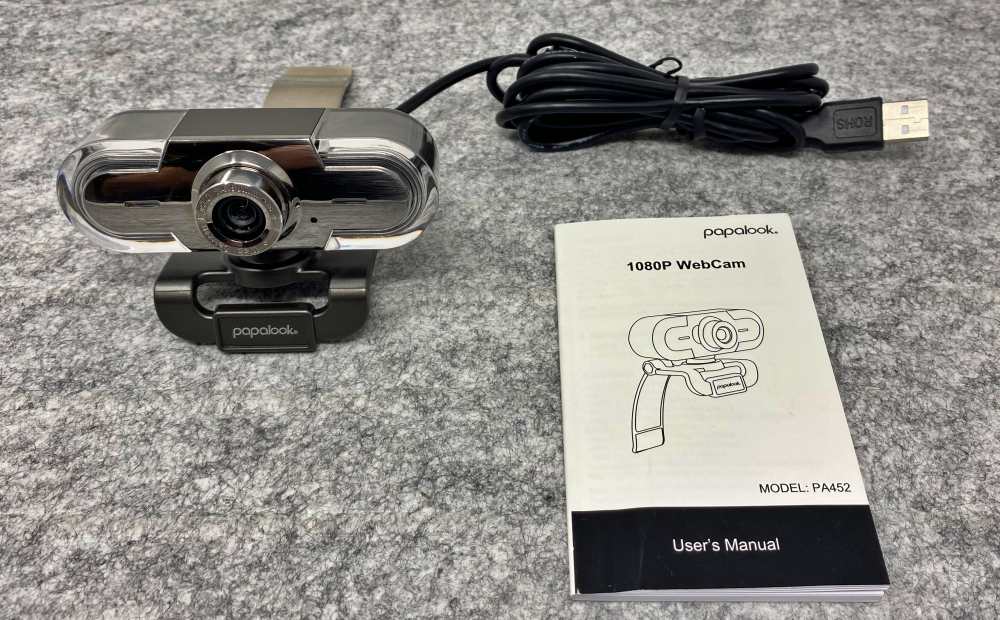
- PA452 Webcam
- Instruction manual
Hardware specs
OPTICS
Lens: 5-layer film coated glass lens | F/No.: 2.0
View Angle: Horizontal:60°
Sensor: MA721. 1/4 CMOS 1080P
Resolution: Video/Photo – 1920@1080p 30fps (Max)
Modes: Video – MJPG | Photo – JPG
AUDIO
Mic: Built in | SPL -36dB±2dB
Type: Omni-directional
GENERAL
Interface: USB 2.o
Supported OS: Windows 7, XP2, 8, Vista | Mac OS
Design and features
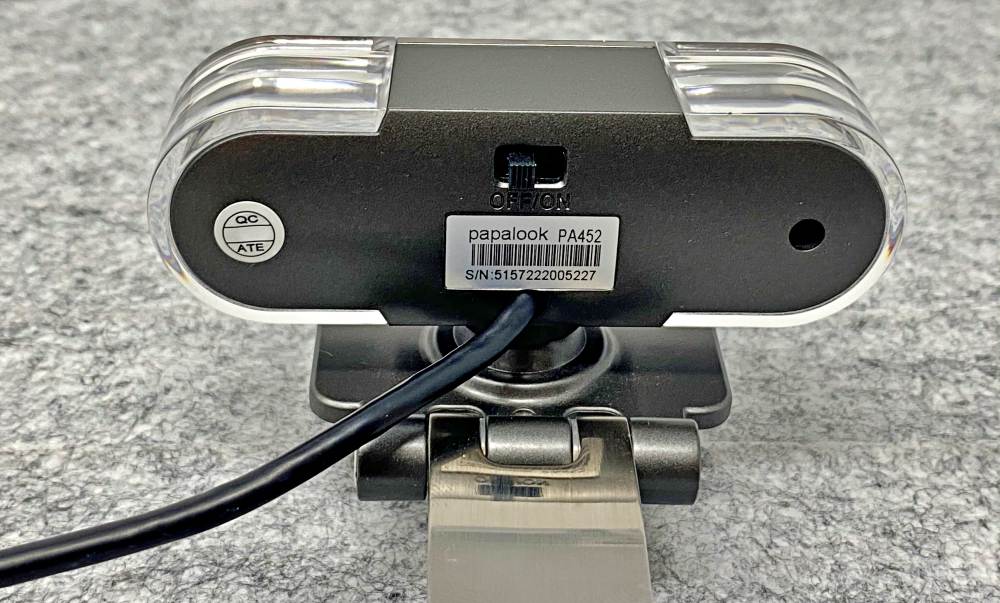
The Papalook webcam features a high quality manual focus lens set into a rounded rectangular body. Clear polished end caps cover the dark silver body except for the face which sports a dark grey mirrored finish.
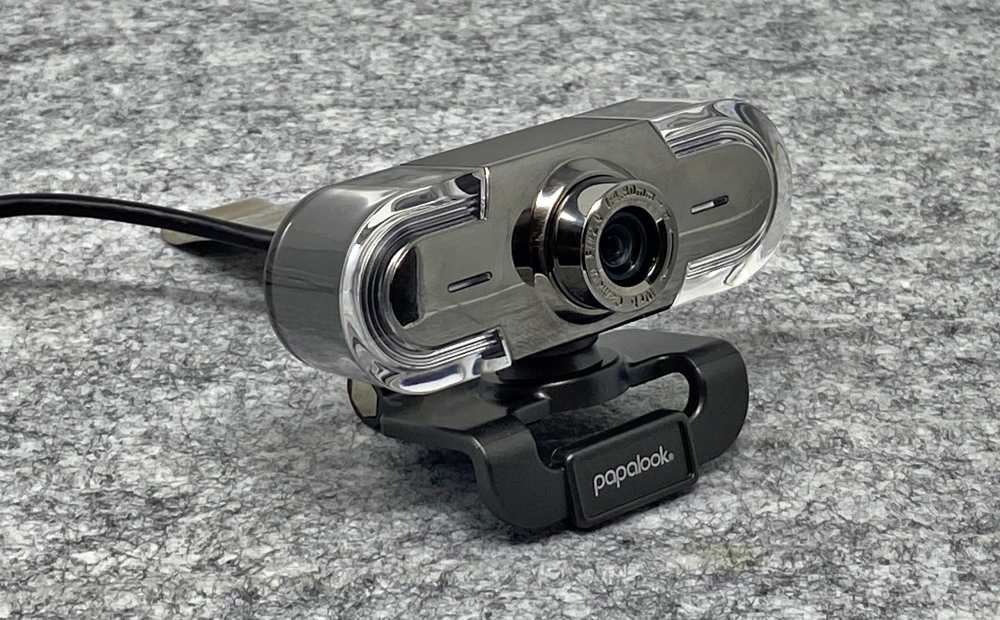
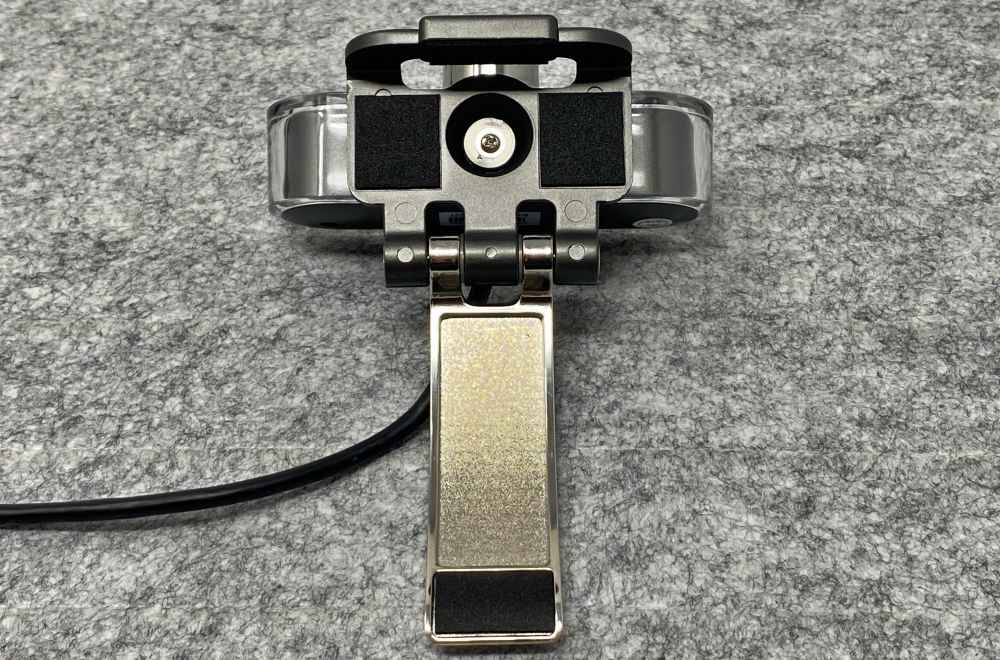
The camera is attached to a monitor mount by a half-ball joint allowing about 15º of tilt in all directions along with unrestricted rotation.
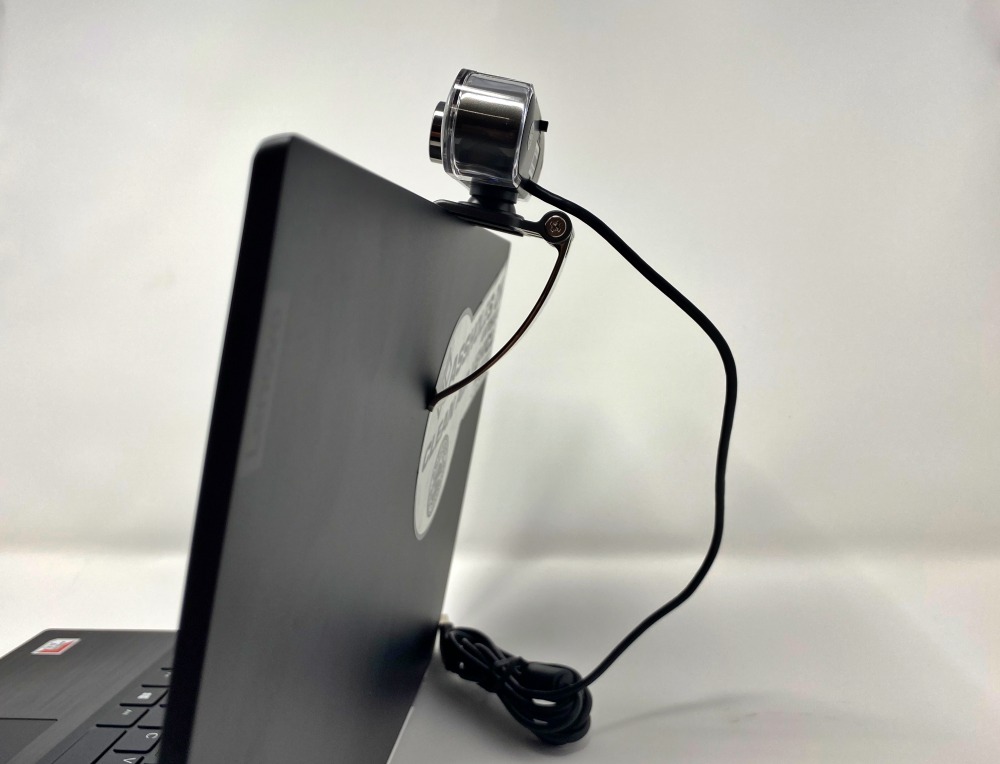
The mount has a front lip and an adjustable curved rear arm to fit almost any depth monitor you may have.
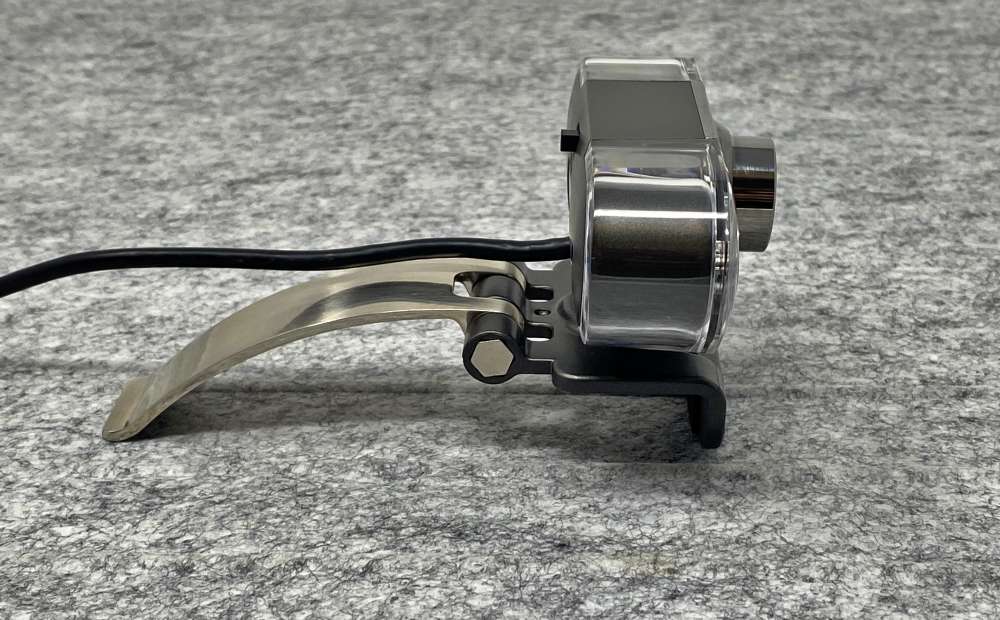
Small pads underneath and on the arm help to protect the surfaces of your monitor or laptop. The cable is plenty long for use on laptops and most monitors.
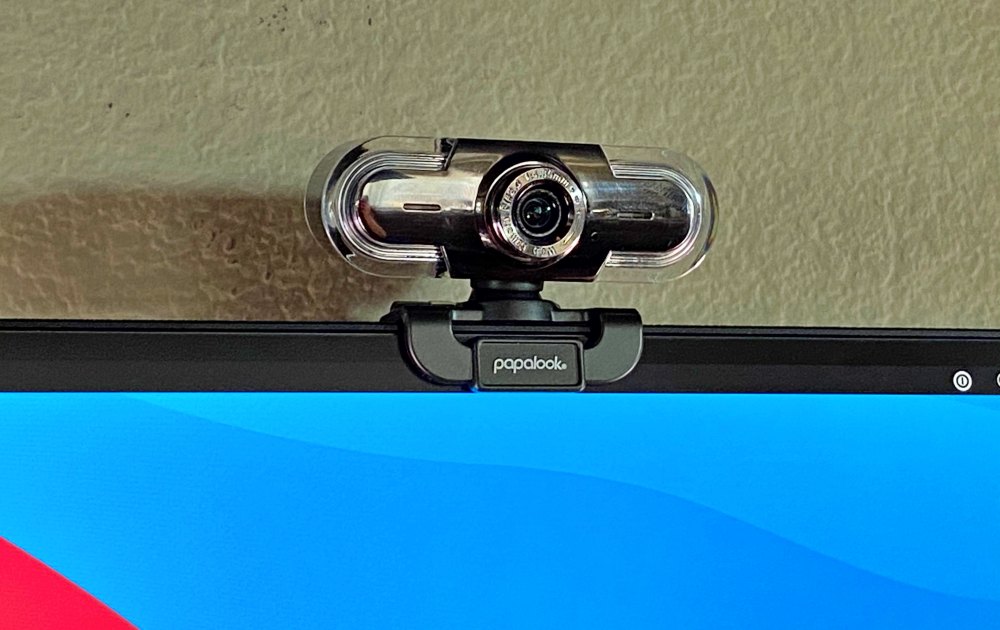
The switch on the back turns on the two blue LEDs on either side of the camera.
Setup
I’m a Mac user and the set up here is very straightforward.
- Plug the USB-A connector into your hub, dongle or machine (if it still has USB-As)
- Rest the monitor on the top of your monitor or laptop screen and move the rear arm into place for support
- Launch Facetime or your video conference platform of choice, navigate to settings and choose the webcam from the list
- If necessary turn the lens to focus the camera
Setting it up on a PC is similar although you’ll need to wait for your system to recognize and tell you that it’s ready for use.
Additionally for your PC there is a software download from Papalook called AMCAP which will may be useful for taking screenshots or video clips. More importantly it does allow you to change some of the core webcam settings like brightness and contrast which can significantly help you dial in the picture.
Performance
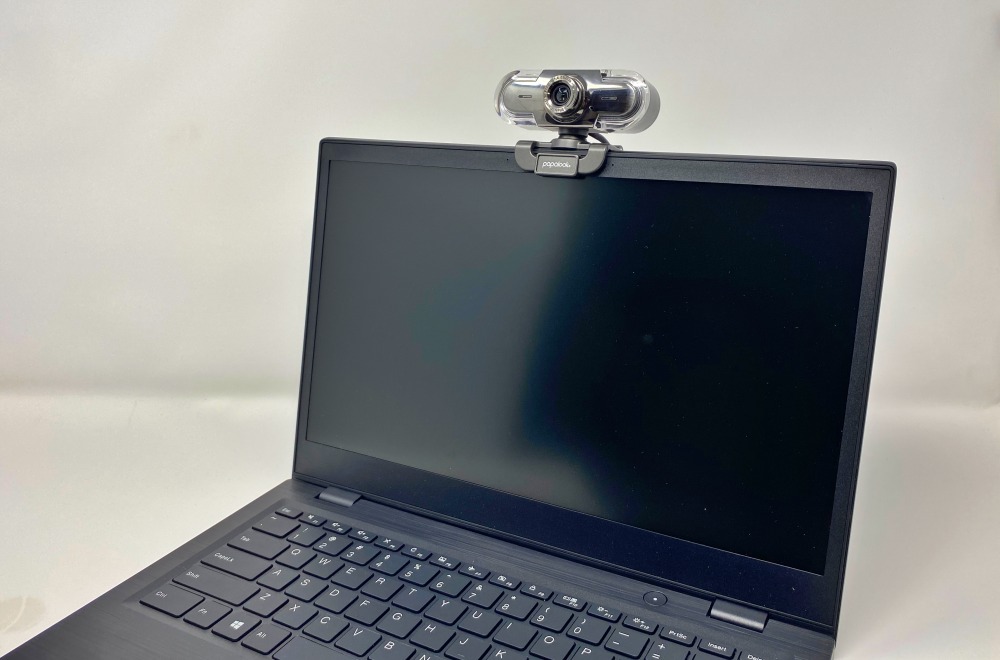
Overall the PA452 works as you’d expect. It perches on the top of a laptop or a monitor easily with the rear lever arm providing the support on narrower screens.
The video quality is solid and on a Mac, it just works. Now the image quality will greatly depend on your set up. In my case, my desk faces a wall in the living room resulting in me being overly backlit due to a sliding glass door behind me. Well placed lighting to illuminate my face can help this quite a bit. Here’s a quick video which demonstrates that pretty well.
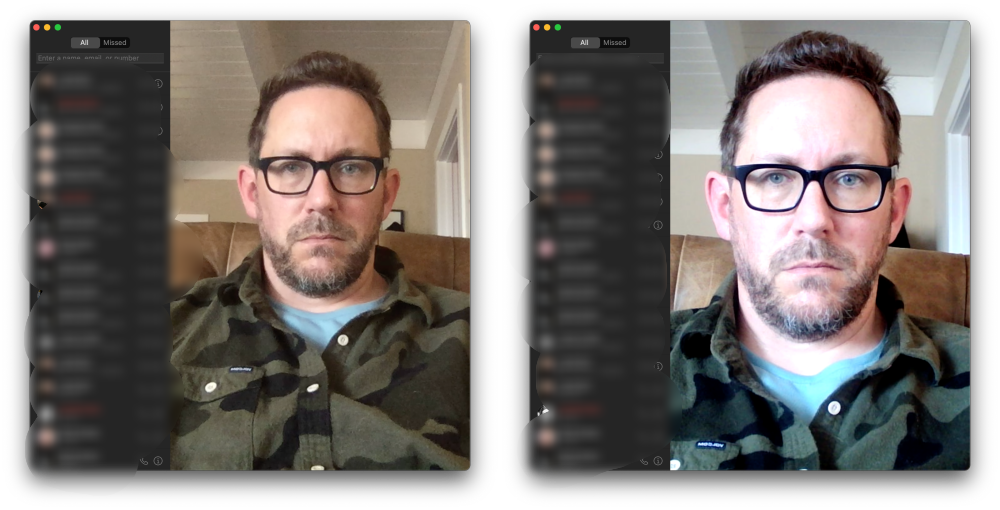
Of course, one of the benefits of a laptop is obviously working from anywhere. Here’s a couple of screenshots from Facetime where that same backlight is now lighting my face directly. It’s kind of an overcast day here so the light is very white resulting in a bit of that blown-out look; Note: I have not color adjusted these images, nor have I calibrated the color on your monitor.
Here’s a video comparing the built-in camera on my Lenovo laptop to the Papalook.
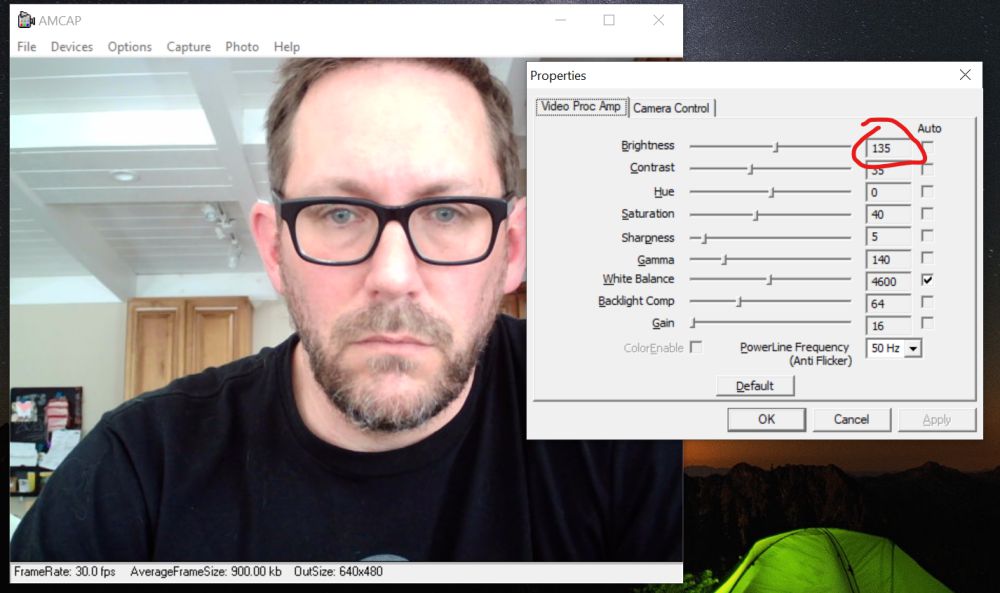
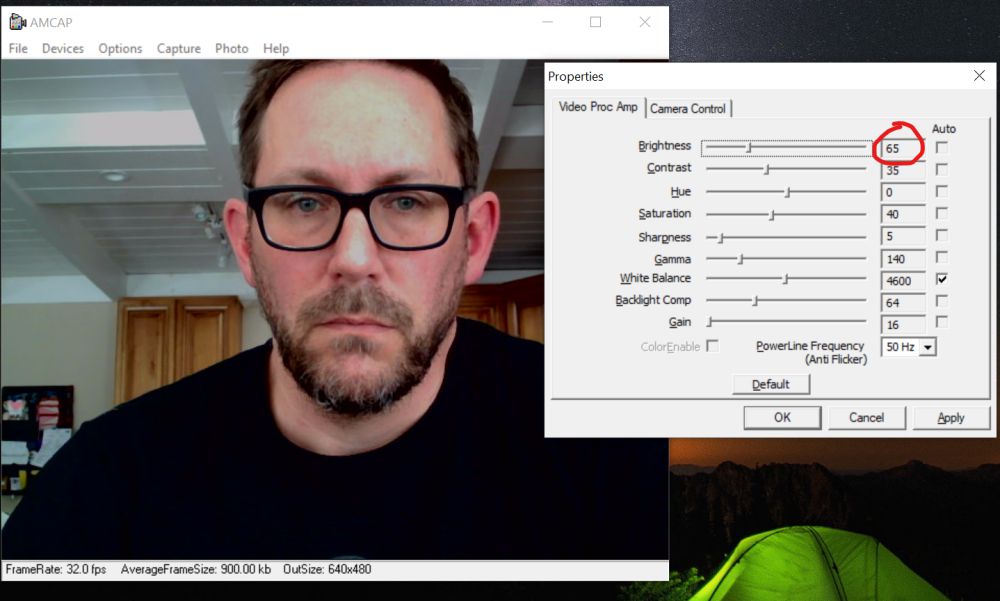
On the PC side of things, the available AMCAP software lets you dial in the webcam settings. In these screenshots you can see the values that are adjustable and how much the brightness helped solve the issue in my location at the time.
I think it’s important to note that even in a static setting, your lighting may differ throughout the day and those settings may need to be readjusted from time to time. Here’s another video after adjusting the settings via AMCAP.
Apple does not include any native OS settings for adjusting either the built-in camera or any USB webcams you may have attached. I was able to find a couple of older options on the Mac App Store. One in particular, called Manual Camera, was able to provide a similar set of adjustments as the AMCAP software and helped to solve the blown-out issue when I’m situated somewhere very bright.
There are two LEDs on this camera and I can’t figure out why Papalook included them. They just shine blue, reflect awkwardly in the clear body housing, and do not help in any way that I can tell.
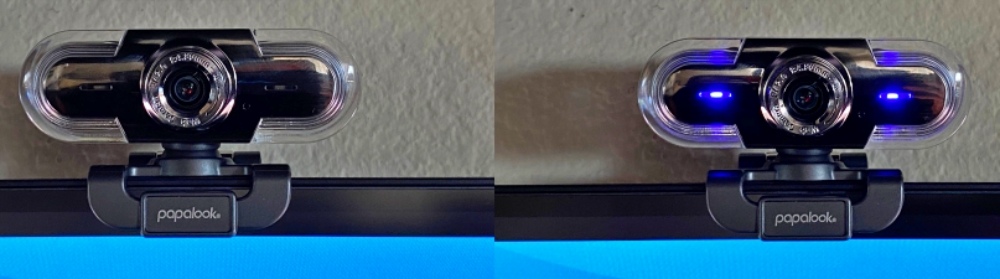
Thankfully there is an on/off switch so you can forget they’re even there. Unlike the built-in Facetime camera on my MacBook Pro, there is no status LED letting you know the camera is active. Maybe they can update the firmware to make those LEDs more useful.
So why would you opt for an external webcam when one is built into your laptop? Well… all the Apple laptops are equipped with 720p cameras. Many PC laptops don’t specify the resolution. The PA452 bumps you up to 1080p which provides a noticeable increase in clarity. If you are using an external monitor and your laptop is off to the side, this will have you looking at the camera again. It’s also useful if you need to aim the camera to capture someone with you while you still use the keyboard.
At first, I wasn’t sure I liked the manual focus ring which you adjust by physically turning the ring around the lens. It’s trickiest if you’re using an external monitor and are sitting further than arm’s reach from the camera. In that scenario, you lean forward to focus, and then you’re adjusting the focus for where you are now, not where you will be. But, with a quick assist from a family member I was able to dial it in. What changed my mind was trying a different, much more expensive webcam with auto-focus. That camera works in “normal” office setting where the light is “normal”. When I tried that cam in my backlit scenario it would absolutely refuse to focus on me and instead on the room behind me. Nothing could kick it into behaving including turning off auto-focus. Sometimes you just want control to set things exactly how you want them. With the Papalook PA452 I can do that.
A final note is that you have more control over your camera for content that you produce yourself. So if you’re recording yourself for a blog post or a review, you can make sure you’re looking your best. The conference services have been capping bandwidth to deal with the overload so you may not see significant improvements in the short term until things settle down.
What I like
- Driver free on Mac (and PC as far as I can tell)
- Monitor mount stability plus tilt and rotation adjustment
- Image quality and manual focus
What I’d change
- Change the LEDs to indicate if the camera is active
- No image adjustment software (on Mac)
Final thoughts
The PA452 USB 1080p HD Live Web Camera from Papalook is an able performer providing a crisp image and no-fuss operation. An active status light would be welcome (as would be image adjustment software for Mac), but all in all, this is a good product at a good price that can out perform some more expensive options available.
Price: $79.99
Where to buy: Amazon
Source: The sample of this product was provided by Papalook
tinyurlis.gdclck.ruulvis.netshrtco.de